Introduction
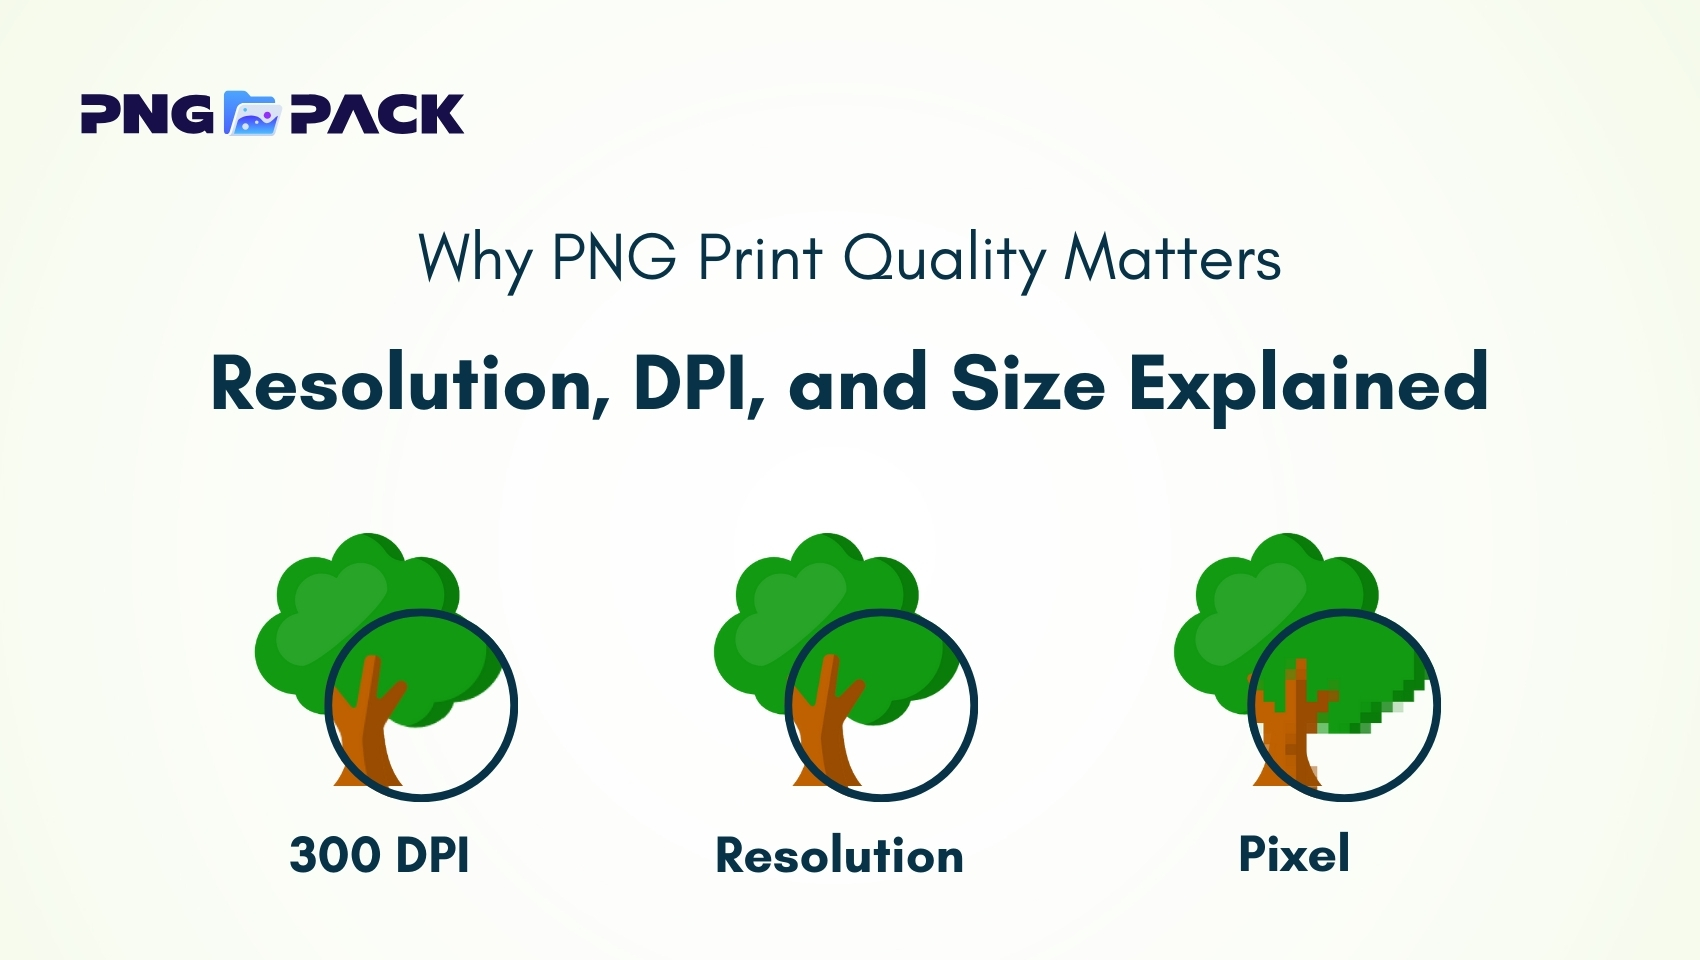
Print quality plays a crucial role in how professional and trustworthy a design appears. Even a well-designed image can look blurry, pixelated, or unprofessional when printed if the resolution, DPI, or image size is not set correctly. PNG is a popular image format known for its high quality and lossless compression, but achieving the best print results with PNG files requires a clear understanding of how these technical factors work together. In this article, we will explain why PNG print quality matters and break down the concepts of resolution, DPI, and image size in a simple and practical way to help you create sharp, high-quality prints every time.
What Is a PNG Image and Why It’s Used for Printing
PNG (Portable Network Graphics) is a popular image file format known for its lossless compression, which means it maintains image quality without removing important details. Because of this, PNG files remain sharp and clear even after multiple saves or edits, making them a reliable choice for designs that need high visual accuracy.
PNG images are commonly used for printing because they support high resolution and transparent backgrounds, which is especially useful for logos, illustrations, icons, and text-based graphics. Transparency allows PNG images to blend seamlessly into different print layouts without visible borders or backgrounds. This makes them ideal for branding materials such as business cards, brochures, and product labels.
When prepared correctly with the proper resolution and DPI settings, PNG files can deliver clean and professional print results. However, PNGs are best suited for graphics and design elements rather than large photographic prints. Overall, PNG is a dependable format for printing when clarity, detail, and design flexibility are important.
Understanding Image Resolution and Its Impact on Print Quality
Image resolution refers to the amount of detail an image holds, typically measured in pixels (width × height). Higher resolution images contain more pixels, which means they can display finer details and produce sharper results when printed. In contrast, low-resolution images have fewer pixels, and when enlarged for print, they can appear blurry, pixelated, or soft, reducing the overall quality of the final output.
For print, resolution is especially important because printed materials have physical dimensions. For example, an image that looks clear on a screen may not have enough pixels to print at a large size without losing clarity. Designers often use the formula: Print size (in inches) × DPI = required resolution (in pixels)
This ensures that the image has enough pixel density to maintain sharpness at the intended print size. High-resolution PNGs are ideal for graphics, logos, and illustrations where detail is critical. Understanding resolution helps designers prevent print errors, maintain professional quality, and ensure that images look crisp on paper.
What Is DPI and Why 300 DPI Is the Standard
DPI, or Dots Per Inch, is a measure of how many individual dots of ink a printer can place within a single inch of a printed image. It directly affects the clarity, sharpness, and overall quality of a print. The higher the DPI, the more detail the printer can reproduce, resulting in smoother lines, sharper edges, and more professional-looking output.
For professional printing, 300 DPI has become the standard because it strikes the perfect balance between detail and file size. At 300 DPI, printed images maintain crispness and precision, whether you’re creating brochures, flyers, business cards, or posters. Images below this standard often appear blurry, pixelated, or soft, particularly when printed at larger sizes.
Understanding DPI is essential for designers because it ensures that the digital image you see on screen translates accurately to the physical print. Even a high-resolution PNG can appear dull or unclear if the DPI is set too low. To achieve consistent results, always check and adjust the DPI in your design or export settings before sending files to print. This small step can save time, reduce costly mistakes, and guarantee professional-quality prints every time.
How Image Size Influences PNG Print Results
The physical size of an image plays a crucial role in print quality. Even a high-resolution PNG can appear blurry or pixelated if it is not sized correctly for printing. Here’s how image size impacts print results, explained point by point:
1.Scaling Reduces Quality :
- Enlarging a small image stretches the pixels, which causes blurriness or visible pixelation.
- This is one of the most common mistakes in print design.
2. Resolution and Print Size Must Match :
- A PNG should have enough pixels to support its final printed dimensions.
- For example, a logo intended to be printed at 4 × 6 inches should have a resolution that matches 300 DPI at that size.
3.Proper Sizing Maintains Sharpness :
- Designing at the actual print size ensures the image retains fine details and clarity.
- This is especially important for logos, icons, and text-based graphics.
4.Prevents Wasting Time and Resources :
- Using correctly sized images avoids reprints caused by poor-quality prints.
- Saves ink, paper, and design time, while maintaining a professional output.
5.Helps Maintain Professional Appearance :
- Properly sized images ensure smooth edges, crisp details, and overall high-quality prints.
- Enhances the perception of professionalism in marketing materials and branding.
Common PNG Print Quality Problems and How to Fix Them
Even high-quality PNG files can face issues during printing if not prepared properly. Understanding these common problems and knowing how to fix them is essential for achieving professional, sharp, and accurate prints. Here are the most frequent issues designers encounter:
1.Blurry Prints :
- Cause: Low resolution or insufficient DPI.
- Solution: Always ensure your PNG is at least 300 DPI at the intended print size. This maintains sharpness and prevents the image from appearing soft or fuzzy.
2.Pixelation :
- Cause: Scaling images beyond their original resolution.
- Solution: Use high-resolution PNGs and avoid enlarging small images. Designing images at the intended print size ensures every detail remains crisp.
3.Jagged Edges :
- Cause: Improper export settings or low-quality rendering, often noticeable on text or vector graphics.
- Solution: Export PNGs using the correct settings, and consider using vector formats (like SVG or AI) for text-heavy designs to maintain smooth edges.
4.Color Inconsistencies :
- Cause: Digital images in RGB color mode can appear different when printed in CMYK.
- Solution: Convert images to CMYK if required by the printer, or check the printer’s color profile before exporting. This ensures colors appear as intended in the final print.
Best Practices for Preparing PNG Files for Printing
Preparing PNG files correctly is essential to ensure your printed materials look sharp, professional, and visually appealing. Following a few key best practices can prevent common issues like blurriness, pixelation, and color inconsistencies. Here’s how to get the best results:
1.Use High-Resolution Images :
- Always create or export PNGs at a resolution that matches the intended print size.
- For professional-quality prints, aim for 300 DPI to maintain crisp details.
2.Design at the Final Print Size :
- Avoid scaling images after creation. Design your PNGs at the exact dimensions they will be printed.
- This ensures sharp edges, proper proportions, and prevents pixelation.
3.Maintain Transparency When Needed :
- PNG supports transparent backgrounds, which is useful for logos, icons, and overlays.
- Transparent PNGs allow your designs to blend seamlessly with different backgrounds in print layouts.
4.Check Color Profiles :
- Convert your images to CMYK if required by your printer, as colors may appear differently in print compared to digital RGB files.
- Always confirm the printer’s recommended color profile to maintain color accuracy.
5.Avoid Excessive Compression :
- While PNG is a lossless format, exporting with unnecessary compression can still reduce quality.
- Keep the balance between file size and print quality to ensure clarity.
6.Test Before Final Printing :
- Print a small sample or proof to check clarity, color, and overall quality.
- This allows you to catch issues early and make adjustments before producing the final prints.
Conclusion
PNG print quality depends on understanding resolution, DPI, and image size. Even high-quality designs can look blurry or pixelated if these factors are not managed correctly. By using high-resolution PNGs, designing at the correct print size, checking color profiles, and following best practices, you can ensure your prints are sharp, clear, and professional.
For designers seeking high-quality PNG resources, PNGPack offers a wide collection of free PNG images suitable for both digital and print projects. Using ready-to-use PNGs from PNGPack can save time, maintain design flexibility, and help create professional prints effortlessly.
With proper preparation and reliable PNG resources, your printed materials will consistently look crisp, detailed, and visually appealing, reflecting the quality of your work.